How to add Neuralsearch to an existing collection
Neuralsearch™ is a powerful new artificial intelligence engine for site search. With the Neuralsearch configuration in the Search.io console, anyone can create a neural index.
There are four steps to get Neuralsearch up and running which this document will guide you through:
Create a Neural index
Re-index your collection
Update your relevance settings to use the Neural index
Testing and go live
If at any point you get stuck please check the Common issues section below, or contact our support team.
Step 1. Create a Neural index:
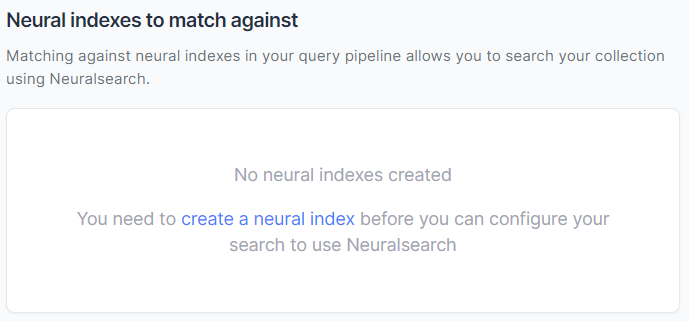
Login to the platform and you’ll notice a new notification in the Relevance screen and the Indexing screen like the examples below. This first step can be taken from either screen. Simply click on create a neural index.
Relevance Screen:
Indexing screen:

Once clicked you should be presented with a window like the one below:
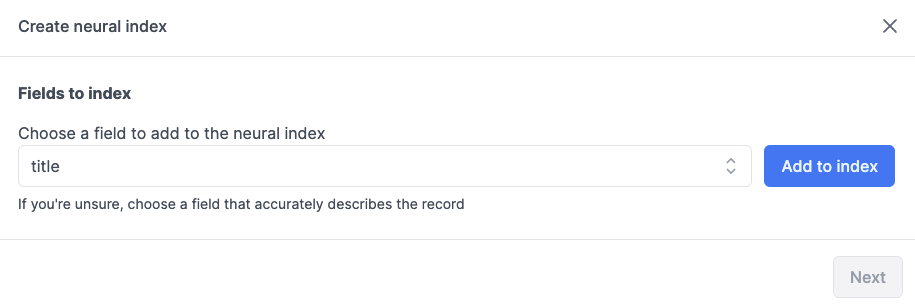
Now identify the fields which most accurately describe the records in your collection. These are the fields that Neuralsearch will use for queries. If you’re not sure, don’t worry our system will automatically suggest an appropriate selection. Once you have selected each of the fields and determined their importance (see below) click the create button.

This automatically saves and publishes a new version of your Record pipeline. Customers who don’t use the default version of the Record pipeline in production will need to take note of the new version id and point to it when re-indexing.
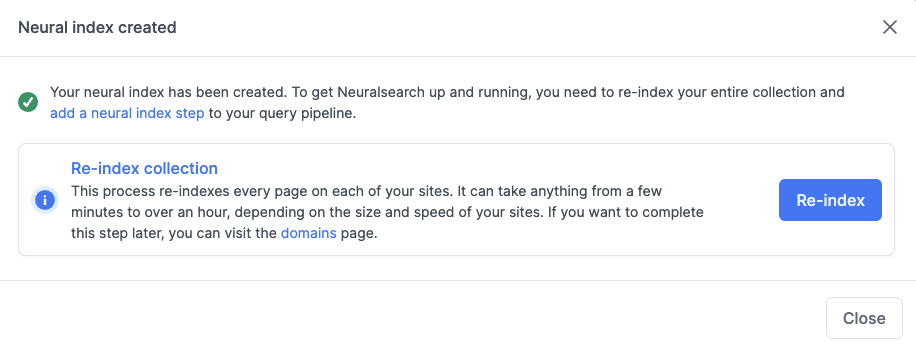
Step 2: Re-index your collection
If you are continuing from step one you should see the following window where you can simply click the Re-index button.
If this window is not available then performing a re-index will differ according to your integration with us:
Website integrations - Click the Domains button in the left menu bar and then the
Re-index all domainsbuttonShopify integrations - Click the Sync products button in the left menu bar and then the
Yes, start re-syncbuttonAPI or SDK integrations - Perform a full re-ingest using the relevant API, SDK endpoint
The time this takes depends on the size of your website or product catalog.
Step 3: Update your relevance settings to use the Neural index
In the left menu bar navigate to the Relevance screen. The Neural notification should look different to how it did in step 1.
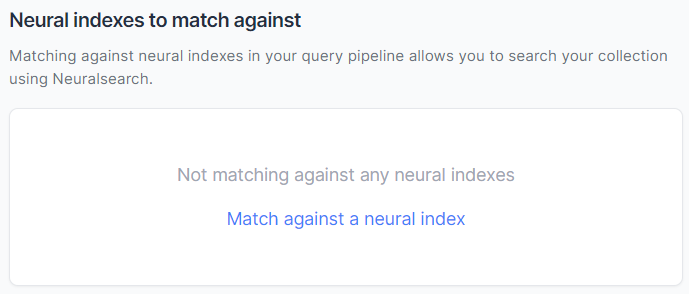
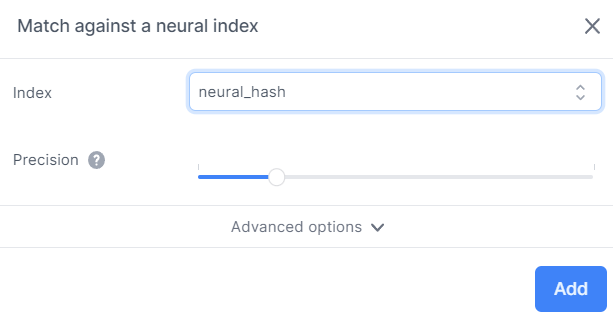
Click the Match against a neural index. In the drop down menu the index is likely to be called neural_hash. For now we recommend leaving the Precision setting at its default of 0.68. Click the Add button to update your relevance settings.
If this was successful your screen should look like this:
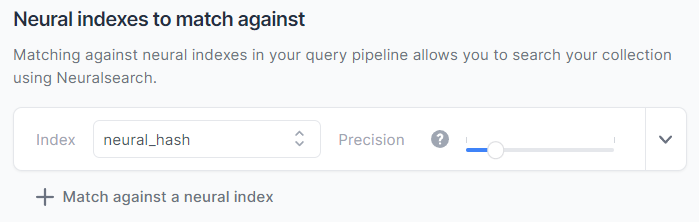
If you navigate away at this point we recommend saving the changes but not publishing them until you have performed some basic relevance tests
Step 4: Testing and go live
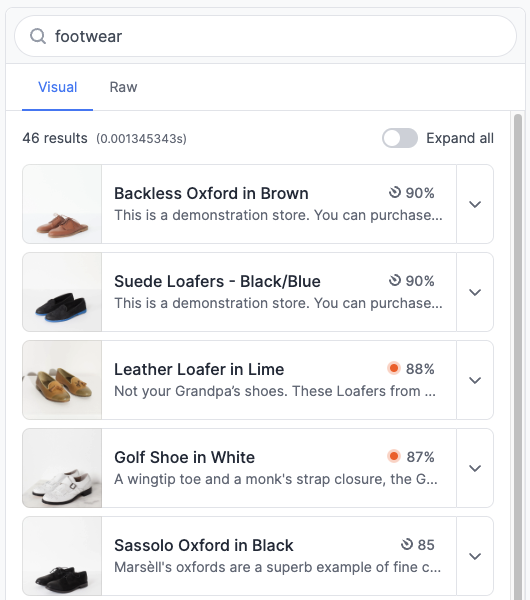
Now you have Neural set up try running some test searches in the Relevance screen. A new pulsing orange icon in the visual preview indicates results which have been scored by Neuralsearch.
Once you’re satisfied, save and publish the new pipeline version to make Neuralsearch live on your site. If you previously saved it then follow this guide to publish it https://kb.search.io/KB/how-to-set-a-pipeline-version-as-the-default
Common issues:
Issue 1 - When running a test search you see the message below.
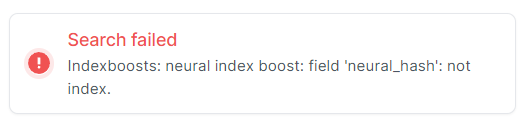
Solution - This means there are no records in your neural_hash index. The solution is to perform re-index, or wait until one you have already performed is complete.
Issue 2 - When running test searches you aren’t seeing any orange icons indicating a result has been scored by Neural search.
Solution - This does not necessarily mean there is an issue with your implementation as our scoring mechanism may be finding more relevant keyword based results. Try some more searches.
However this could also indicate that the neural_hash index has not been completely indexed. To check this navigate the Preview screen and make a note of how many records are in your collection. The example below has 652 records.
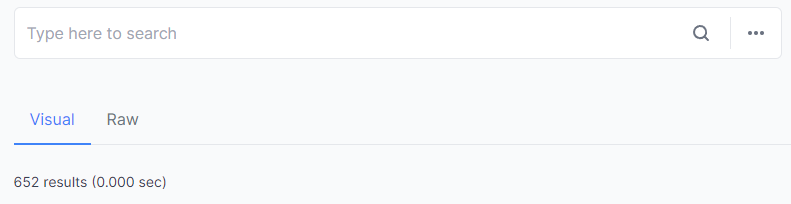
Now click the ... button, then replace the query with the one below and click Run.
{
  "q": "",
  "filter": "IS_NOT_NULL(neural_hash)",
  "fields": ""
}If the neural_hash index has been fully indexed then the number of results should be close to the number you made a note of earlier. If its not then try re-indexing again.